Creating the perfect image and other creative ways you can use your locket
Ideas of what you can place in your locket:
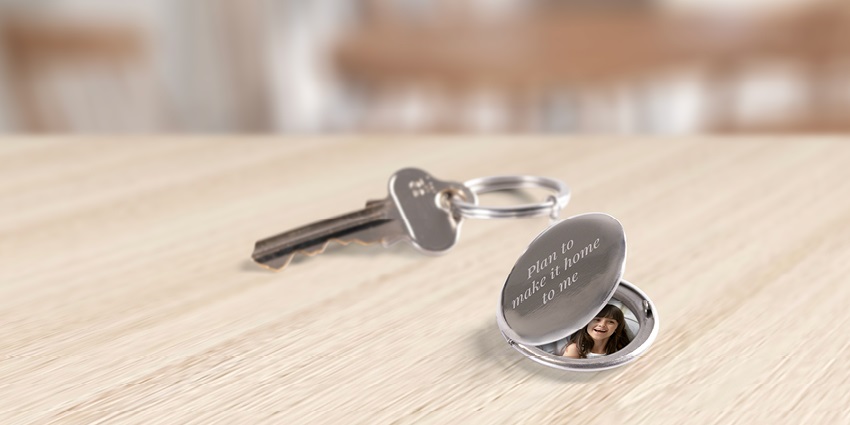
Of course you can put a photo of a loved one/loved ones (including your furry friend) inside your locket to keep them close, but if you don’t want to put a photo in your locket, here are some other ideas:
- Pop a special note from a loved one inside.
- Place a small piece of fabric from a sentimental item (like a piece of lace from your wedding dress) inside as a reminder of a special someone.
- Keep a fingerprint close by using a bit of ink on a little finger and pressing it on a piece of paper.
- A locket is a great place to keep a written down goal you want to accomplish, or even a road safety pledge.
- A travel adventure or place you wish to visit can be kept inside!
- Include a meaningful date inside, like an anniversary, birthday or any date that has significance to you.
- A mantra or your favourite quote are perfect to put in your locket. Have special quotes from your favourite book or movie or even from a friend or loved one.
- A locket is a special place to keep a lock of your baby’s hair from their first haircut.
Choosing a photo
It’s hard to pick the right photo – especially for such a small frame. Here are some tips on how to narrow your options down:
- Choose a photo that is not too busy or detailed – the easier it is to isolate your person’s face in the image the better. Plus, any tiny bits of detail will be lost in a very small photo so don’t worry too much about that.
- Make sure the photo is not too dark – nice light photos will work the best.
- Don’t forget to consider the round shape of the locket.
- Confirm that the image will still be recognisable in a small locket – choose an image that has been shot quite close up, rather than from a distance, so the image is visible.
- If there are two people in the shot, make sure their heads are close together.
- Because locket pictures are so small, it’s best to avoid large group photos.
- The better the quality of the image, the better it will look when printed – especially when put in a small frame like a locket.
- As you can put a photo in both sides, you can choose two images or you might even like to crop and split subjects from one shot.
A number of photo centres across Perth offer locket size photo printing. Search: Photo centres
Trimming your photo
Place your template over your chosen photo and trace around it with a pencil to get a faint but exact trim line. (Tip: using curved nail scissors or really sharp embroidery scissors will get nice clean edges if you are creating a curved shape such as a heart, oval or circle). Remember to trim evenly from all sides so that the subject remains central.
When you have your photo printed, you may wish to choose to print your as tiles (lots of the same photo on one page) so you have a few spares. This way you don’t need to worry if it takes a few tries to get the size right – you’ve got lots of backup photos.
Once you have cut out your photo, pop it in your locket and press gently around the rim at the edges using a pointed or slanted tweezers until it fits underneath the lip of the locket. The rim should hold the photo in place but you can add a small blob of glue to the back of the print before you inset it into the locket for extra hold.
If there are any folds or creases, or the shaped photo print is too large, you should carefully retrim small slivers off the edges of the print until it fits smoothly.